Design Prototyping
It is helpful to build a prototype in order to get a feeling for elasticity, handling and the interaction possibilities of fabrics in relation to the elastic display. This is helpful in the beginning and especially when the possibilities to work directly on the elastic display are limited. A self-built prototype makes it easier to get started. In terms of possible designs, functions or navigation options, the prototype gives you first, but most importantly, essential impressions that are necessary to get a feel for how to work with an elastic display. The following is a list of the required materials and short instructions for creating a prototype of an elastic display.
List of materials
- Picture frame / wooden frame (width 52cm / height 42cm)
- Fabric (which is larger and wider than the frame)
- Staple gun (or nails and a hammer)
Execution
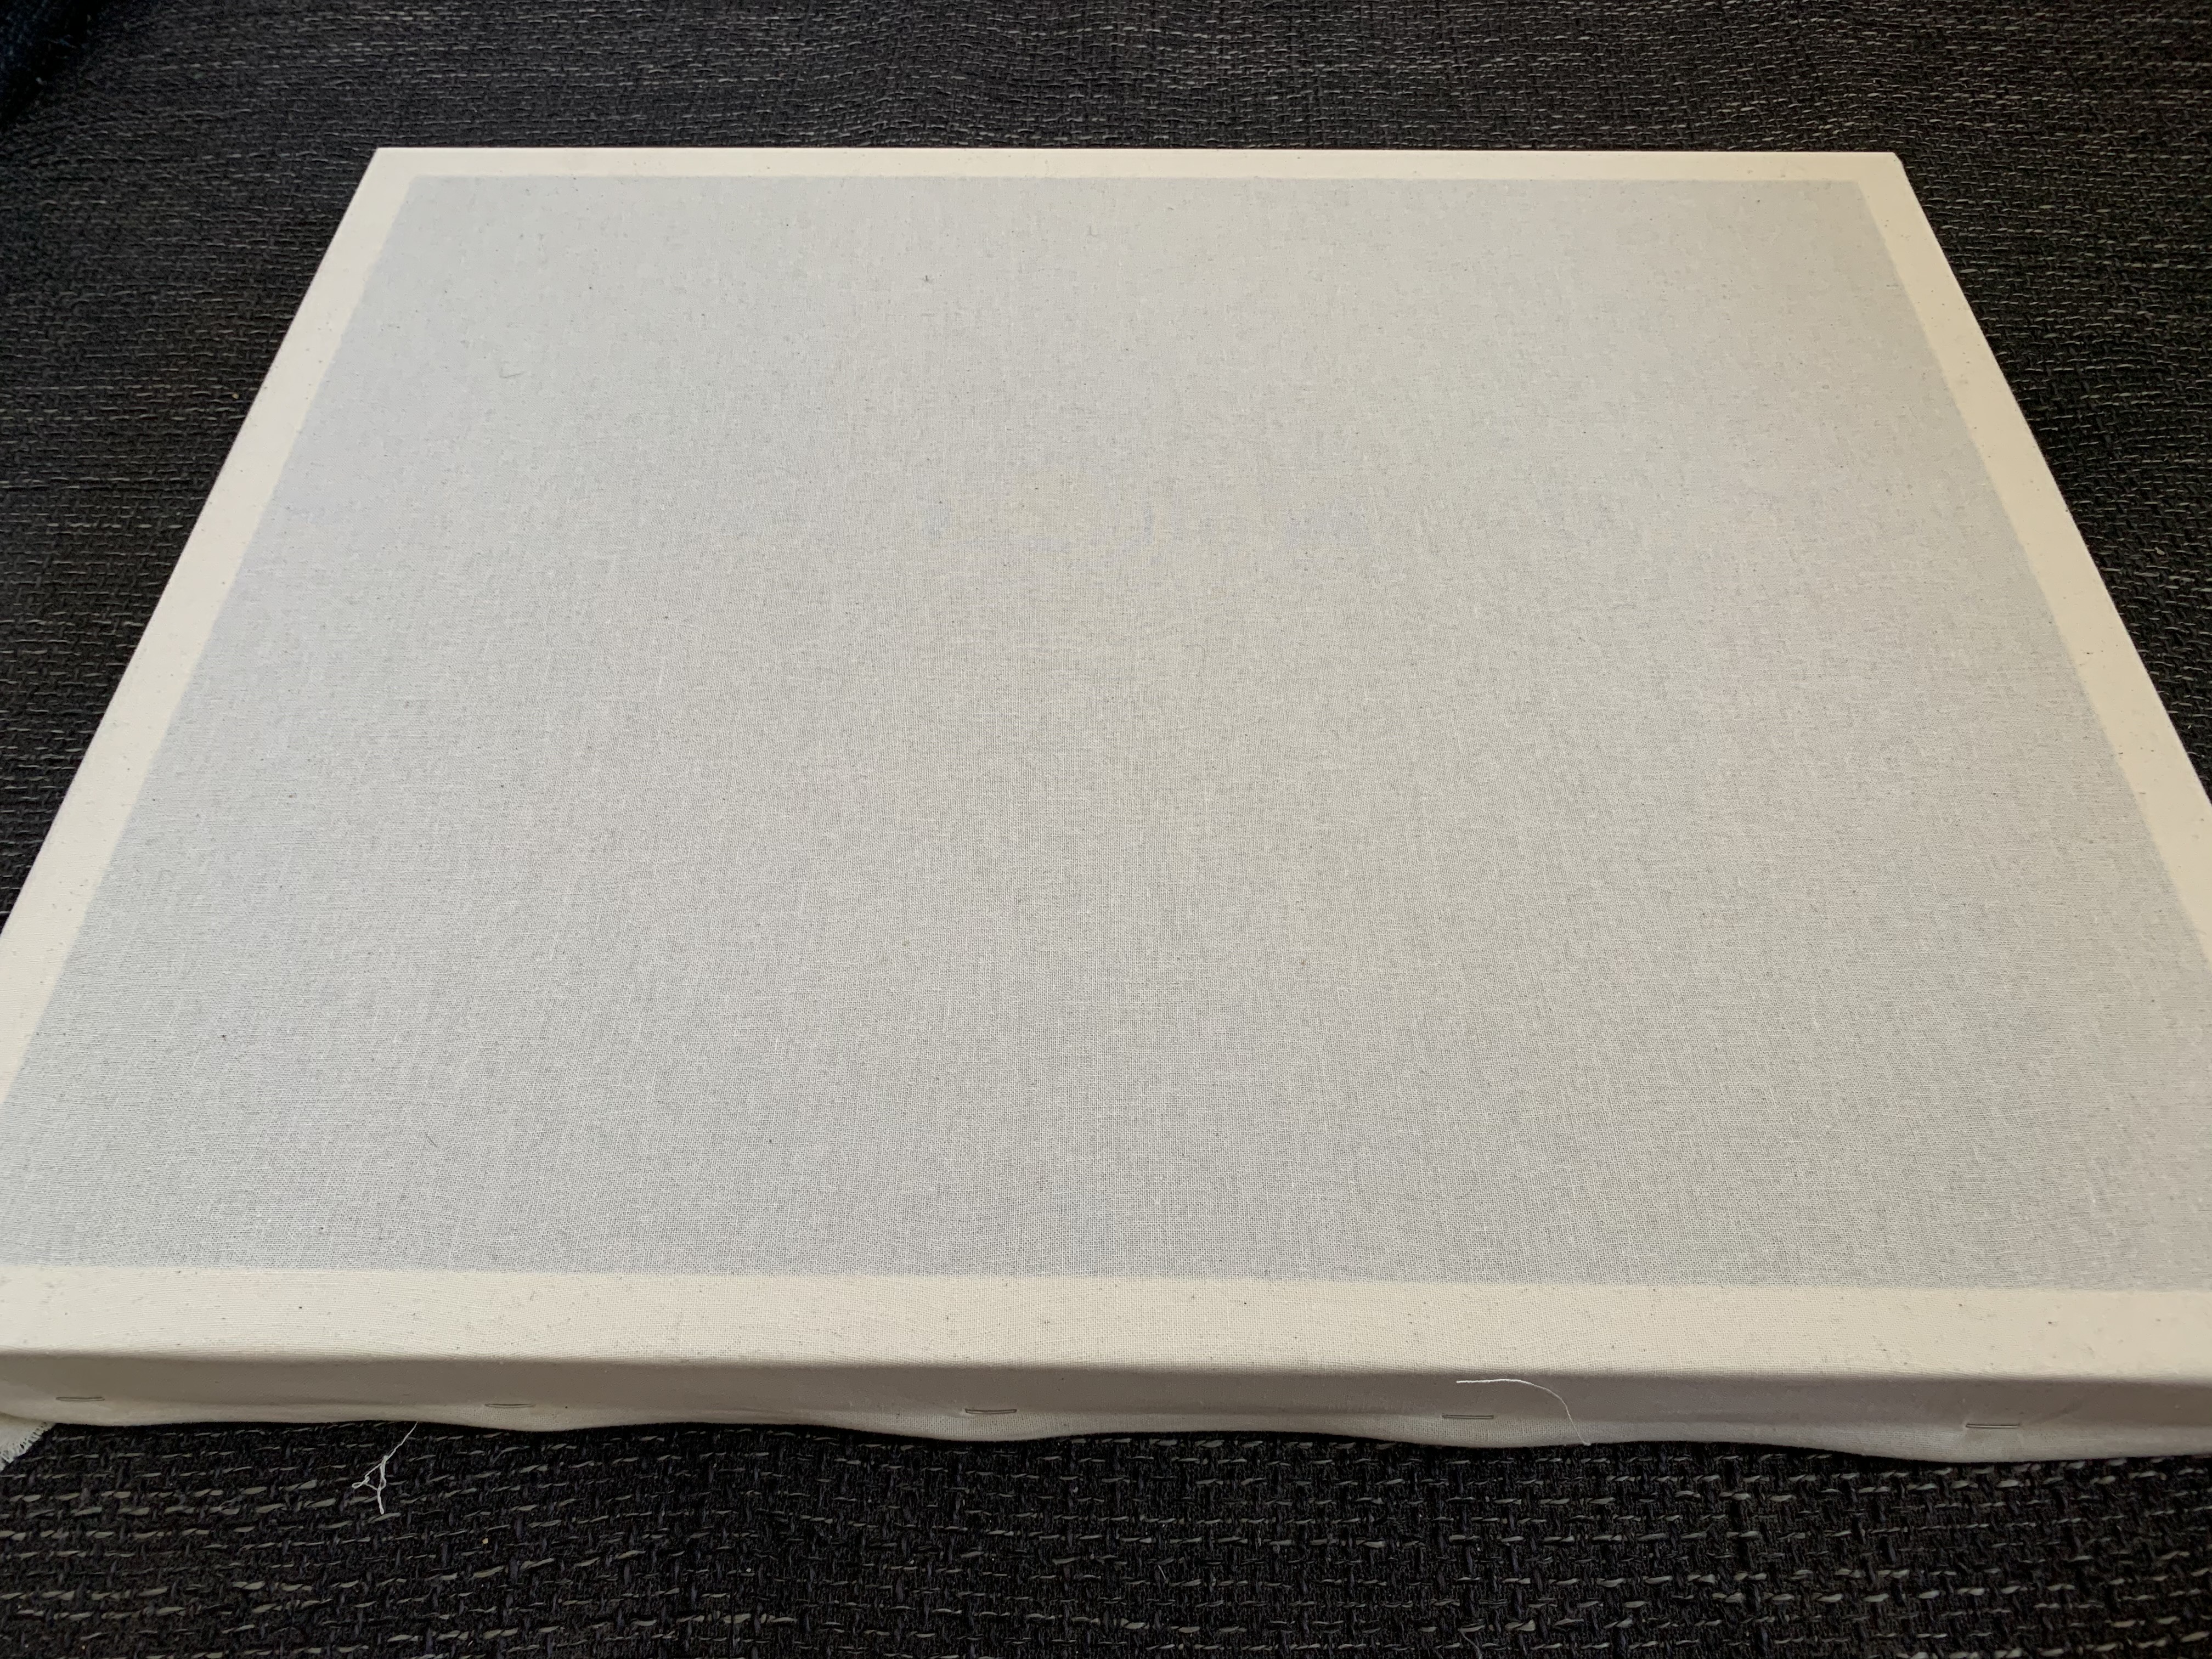
Take the frame and put your fabric over it. Fix the fabric on one long side. Then pull the fabric on the opposite long side slightly tighter and fix this side as well. Repeat this procedure for the two remaining sides.
To see how you can work with the elastic display prototype take a look at the following articles: Paper-Prototyping, Stop-Motion.
Examples